Goldilock's Baked Alaska
Learn from my mistakes. This easy version makes a showstopper dessert for any holiday.
This article ran in the Centre Daily Times back in 2008 but the allure of Baked Alaska is timeless.
One of the things learned in life is not to make an empty promise—especially when it comes to a legendary dessert. Early last September, while celebrating a friend’s birthday with a surprise party, I mentioned that I’d “probably” make a Baked Alaska. When the party plans grew complicated, that was the first item crossed off the list. But when I saw the look of disappointment on one crestfallen teenager, I realized I had made a big mistake. I pledged to myself to keep my promise.
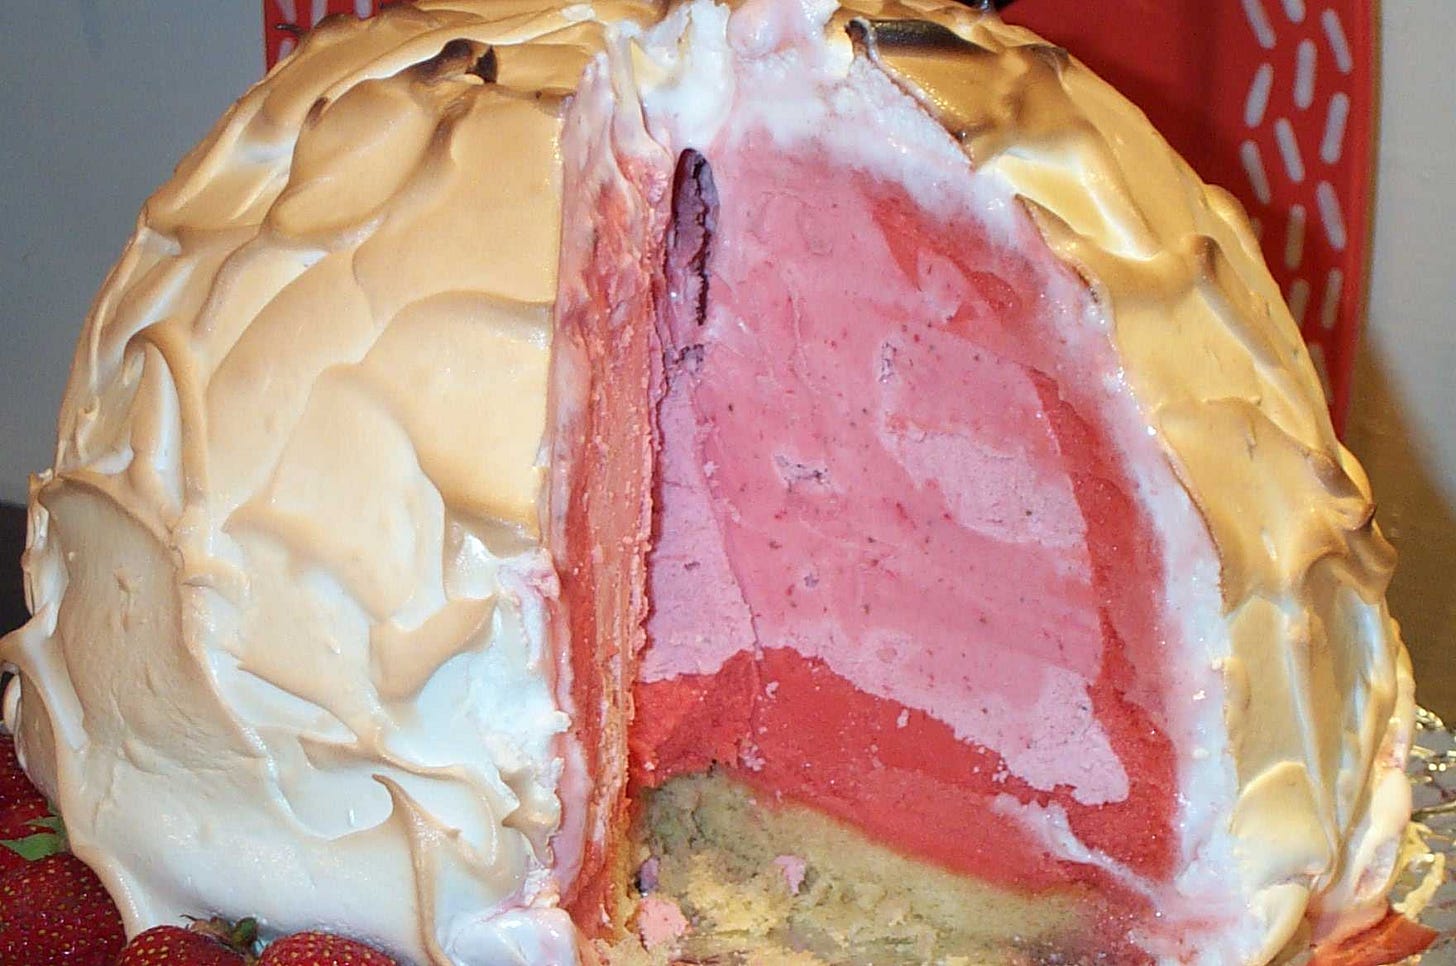
It took a while, but the end of the school year seemed like the time to make good. I invited the same guests, this time without the distraction of an occasion. The Baked Alaska threw me into a frenzy of preparation, primarily because I got it in my mind that I had to make it with homemade ice cream—using the first sweet red strawberries of the season—and homemade sorbet for good measure.

Extrapolating from several recipes, I made the richest strawberry ice cream in creation—using a full quart of local heavy cream. It whipped up almost instantly and tasted quite simply like strawberries and cream. The sorbet recipe called for cooking the berries first, then sieving them and mixing the intense juice with sugar (adding a tiny bit of Tait Farm Raspberry Shrub, the perfect topping for strawberries) and then putting it into the ice cream maker. The result took much longer to freeze than the cream—and tasted phenomenal. I was sure that I had the perfect combination.
Working from a recipe in a magazine that advised a four-quart bowl lined with saran wrap, I fashioned a hollow of sorbet and filled it with a boulder of the strawberry ice cream. By the time the frozen dome perched on the top of a sponge cake base was covered with a layer of meringue, I had a white igloo the size of the county. Into a hot oven it went, to the delight of the onlookers, and out it emerged some 5 minutes later, delicately browned. The trouble started when I tried to cut it-- impenetrable. I resorted to power equipment, not quite a chain saw, but when you work up a sweat cutting through your Baked Alaska with an electric knife, something is wrong.
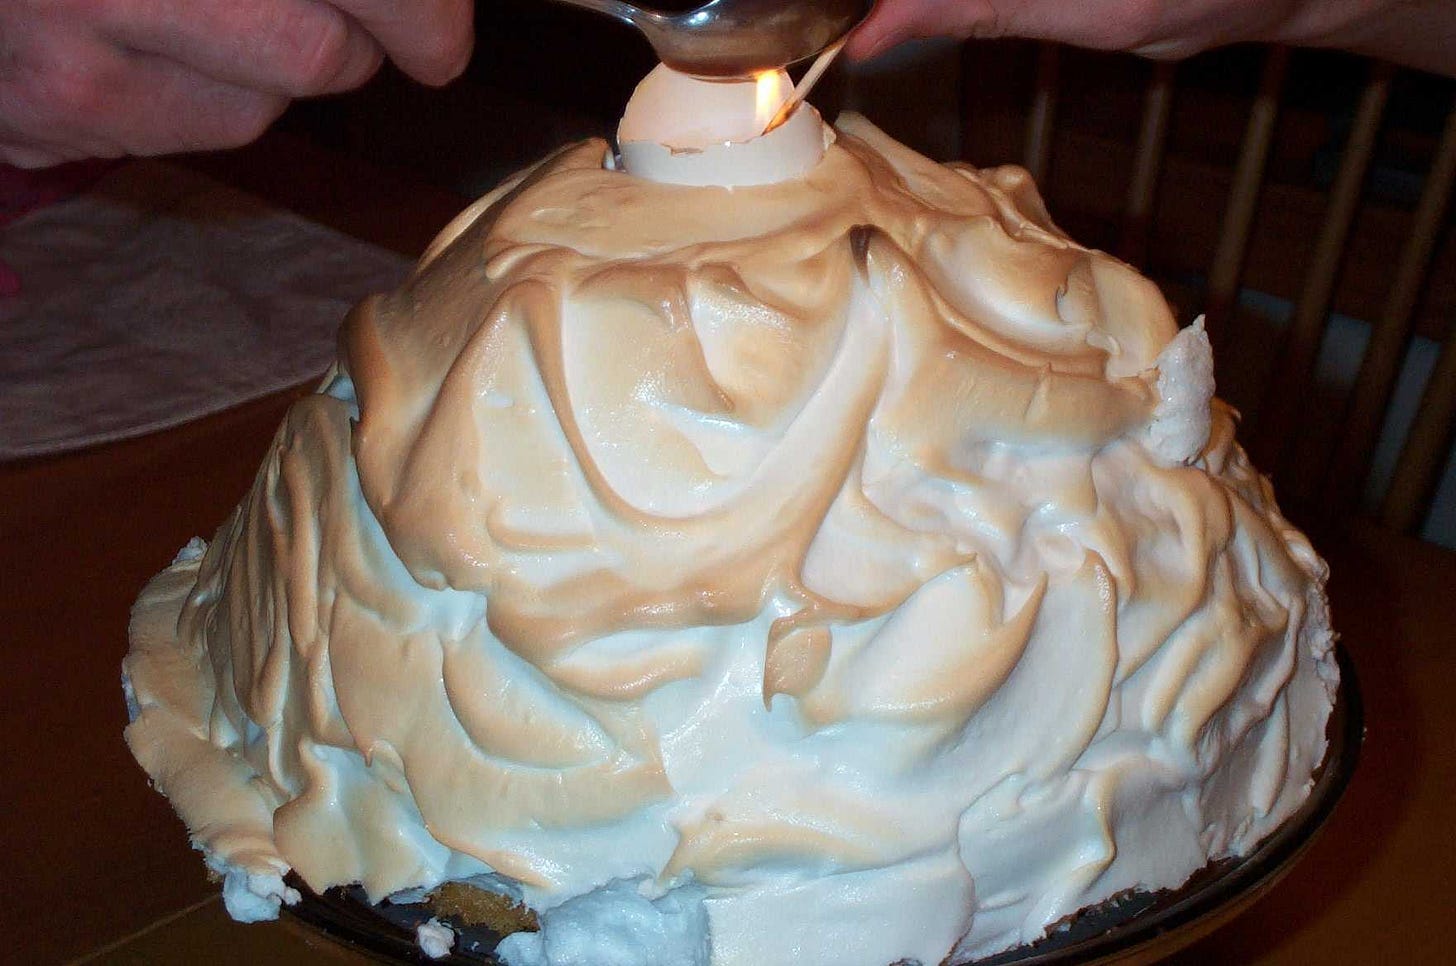
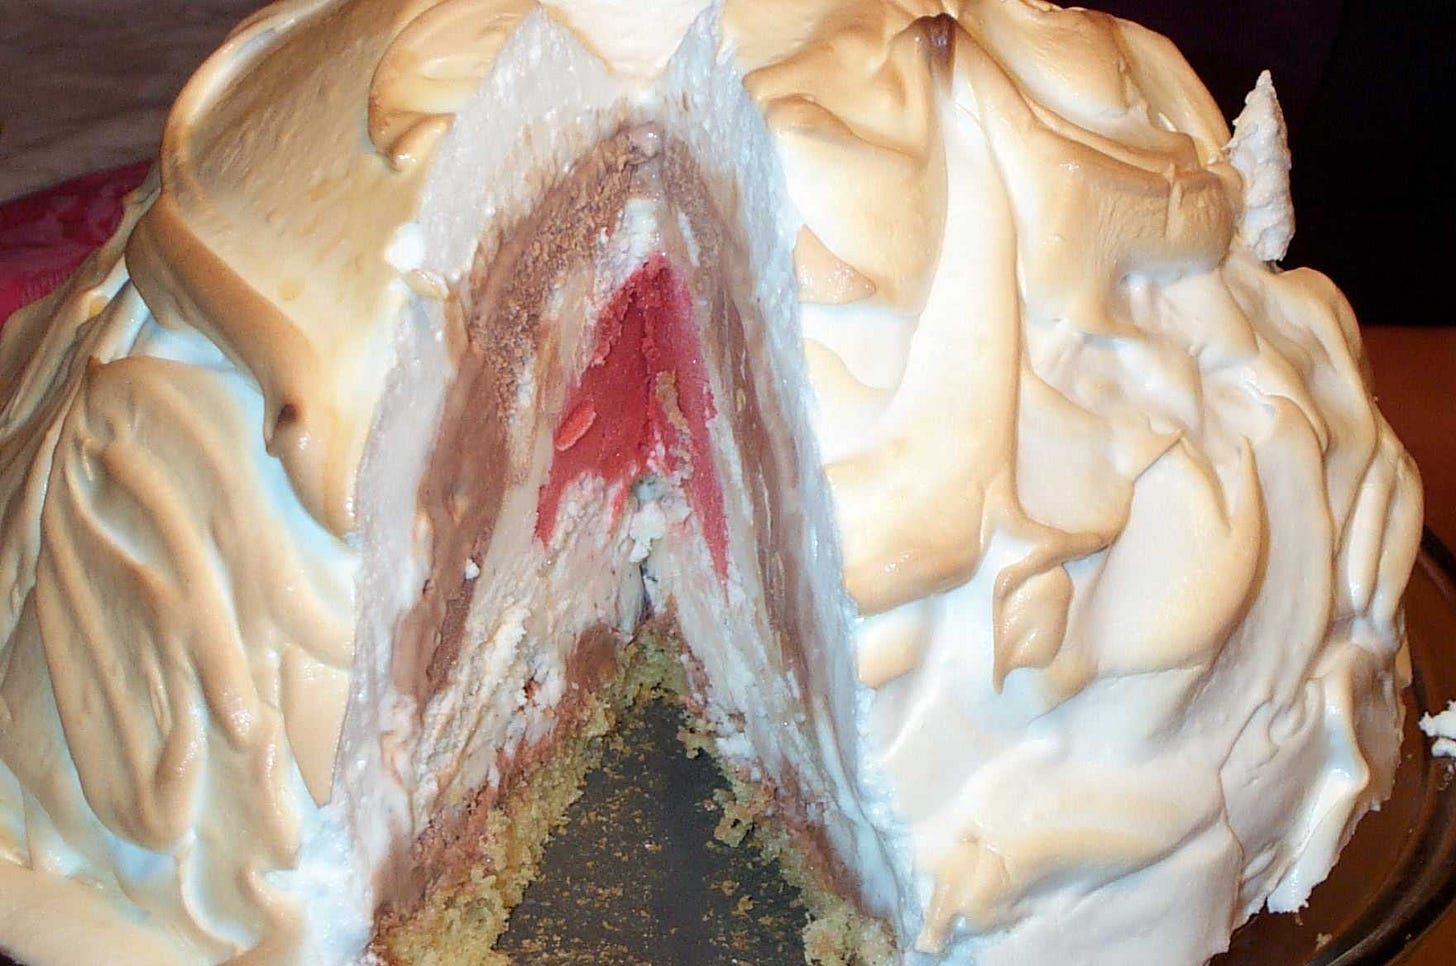
Take 2: husband John’s June birthday. This time I bought the ice cream, which saved me a lot of trouble. I scaled it way down, packing a saran-wrapped lined two-quart metal bowl with a layer of chocolate, a layer of vanilla, and a red heart center of the surviving strawberry sorbet. Everything looked like it was going to work just fine until someone thought it would be a good idea to try to flambé it. So I baked half an eggshell into the top of the dome and filled it with brandy—which dimly flickered blue, hardly the spectacle desired, and then proceeded to spill into the cake which became a brandy sponge.
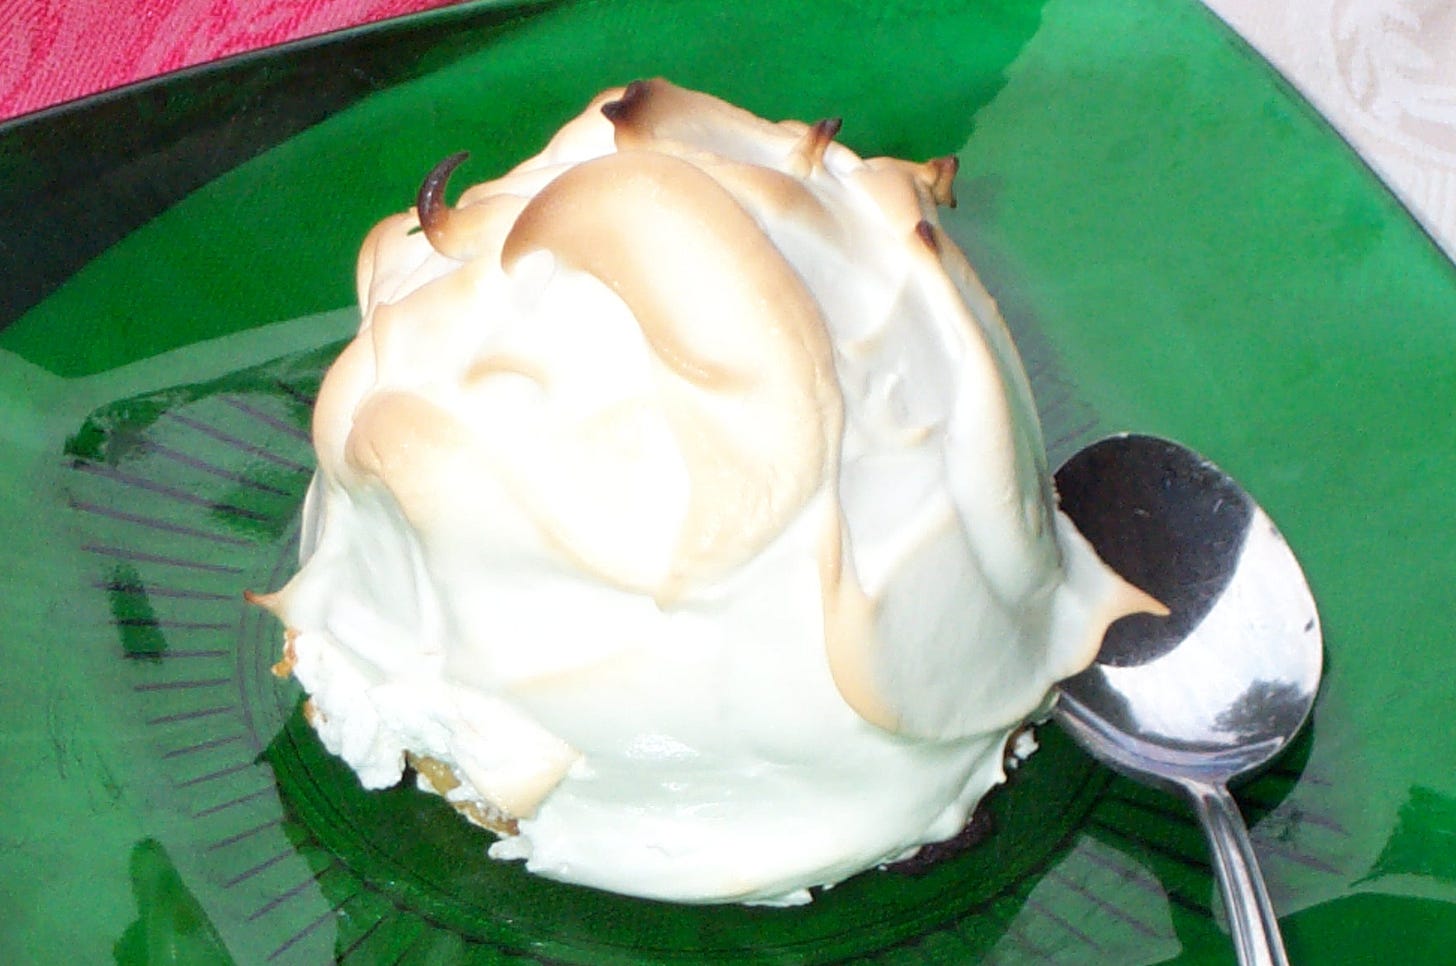
Take 3: divide and conquer. What is intriguing about a Baked Alaska is the idea of ice cream going into a hot oven and coming out virtually unscathed. How to make that happen easily?? This time I purchased a few of the small sponge cake dessert shells available in the supermarket and used store-bought ice cream again. The meringue part is easy, just be sure to bring the whipped egg white all the way to the bottom of the cake before it goes in the oven or it will shrink and leak. The ability of the egg white to insulate the frozen center is amazing and will delight the most steadfastly unimpressed person.
You can make it the hard way—with every component homemade—or you can take shortcuts and have the energy left to enjoy it.
History of Baked Alaska
The idea of using egg whites to insulate a frozen dessert has been around since the 18th century when a similar dessert called Omelette Norvegian was popular in Europe. In 1867, the purchase of Alaska from Russia was celebrated at Delmonico’s restaurant in New York by renaming the already-known meringue-ice cream cake in honor of Seward’s purchase.
Goldilocks’ Baked Alaska
“This one is just right!’
Serves 6
6 individual sponge cakes
6 scoops of your favorite flavor of ice cream
6 egg whites, at room temperature
one fourth teaspoon cream of tartar
3/4 cup superfine sugar
3/4 teaspoon of vanilla
Preheat the oven to 450°F. Place the sponge cakes on a parchment lined baking tray top each with a scoop of ice cream and place in the freezer while you make the meringue. Beat the egg whites until foamy, then add the cream of tartar and continue beating while gradually adding the superfine sugar (superfine sugar is preferred because it dissolves completely in the egg white foam, though regular sugar can be substituted). Beat until stiff peaks are formed and then add the vanilla, mixing it in thoroughly. Remove the cake and ice cream from the freezer and encase each one in a thick coating of the meringue, completely covering the ice cream. Bake in the very hot oven for about 3 minutes until the assembly is delicately brown. You can also use a propane torch to brown the meringue, but the result will not be as uniformly golden. Serve immediately.


